
A pre-wedding shoot mood board turns a folder of saved photographs into a clear conversation. Instead of asking your photographer to copy twenty unrelated poses, you can explain the light, colour, interaction and atmosphere you like. That makes the plan easier to understand and gives the photographer room to create images that fit you.
For Indore couples, a useful board connects inspiration to the actual session: your chosen setting, available time, clothing and comfort. This guide explains how to make that connection without turning your shoot into a race through screenshots.
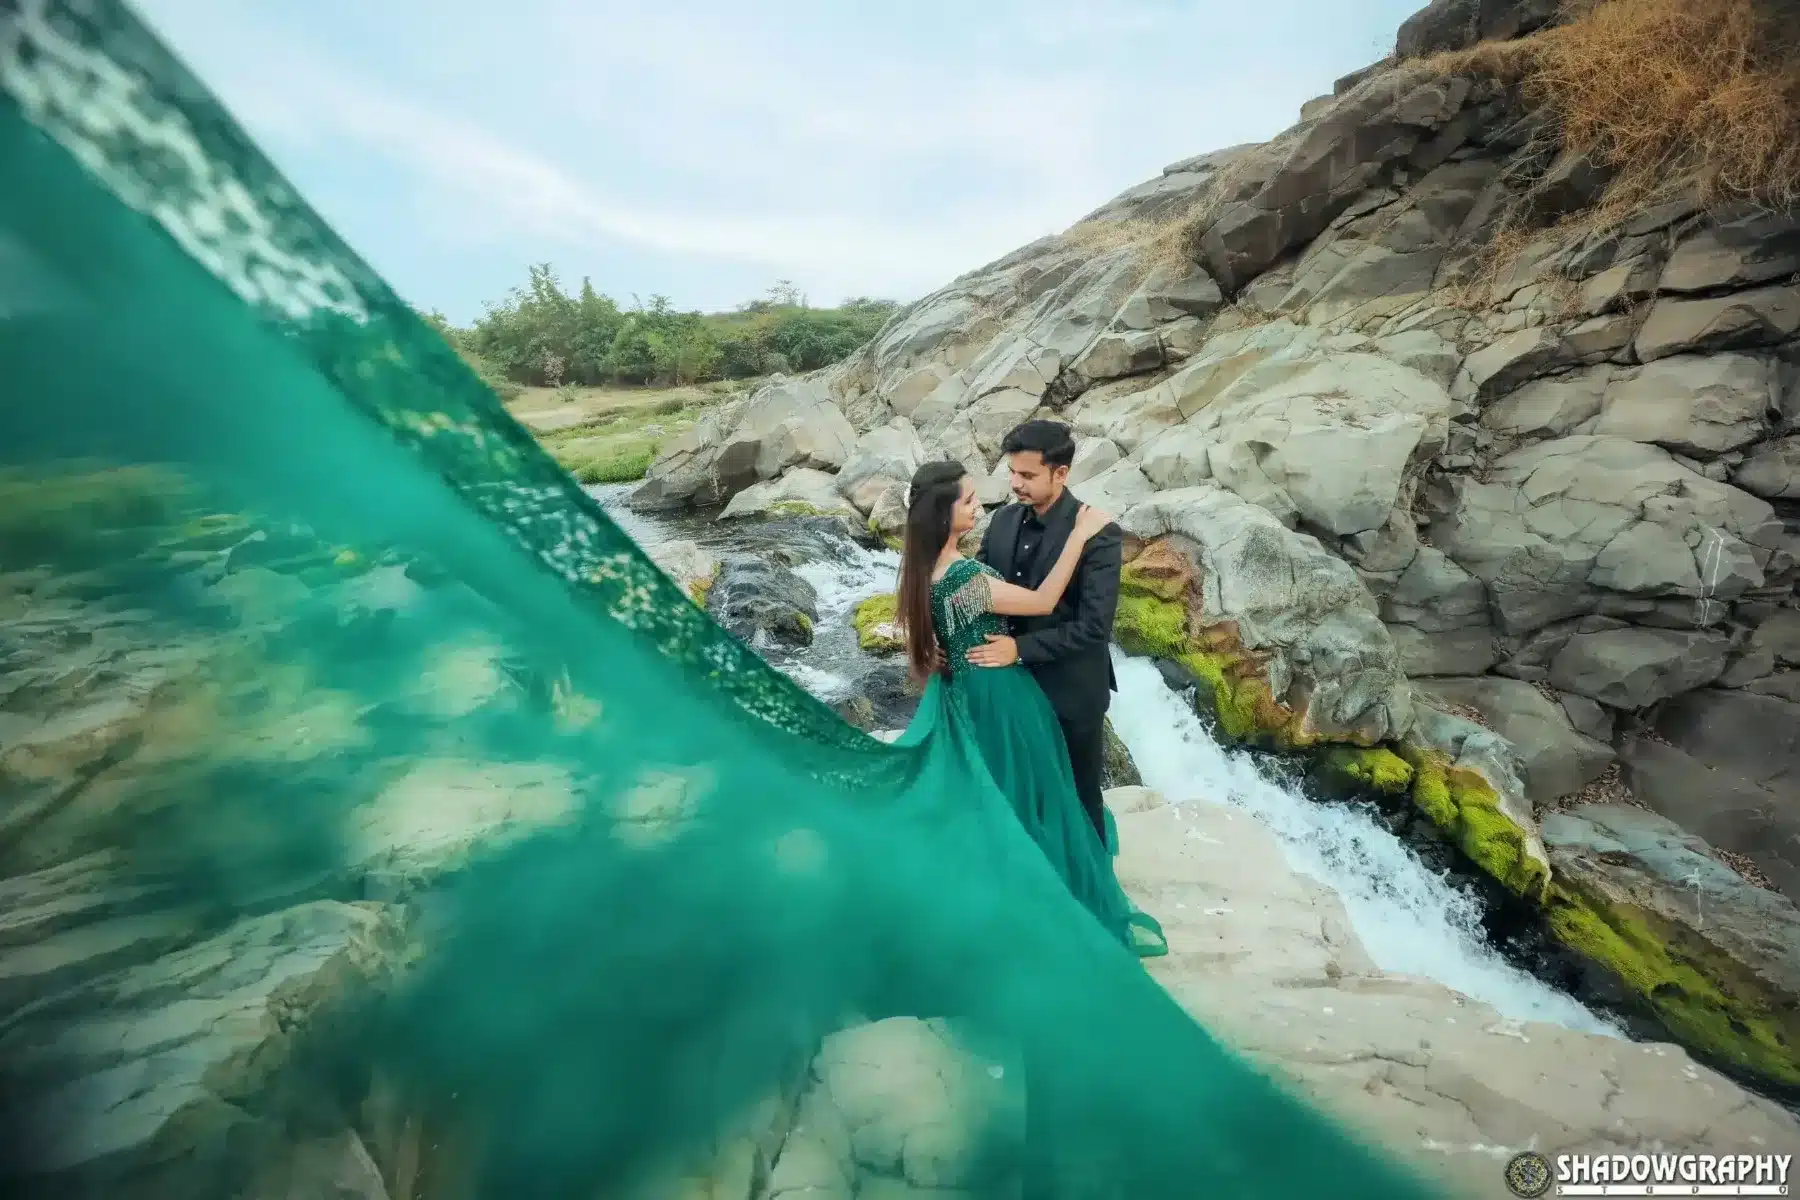
1. Collect first, then edit your collection
Begin with images that catch your attention. They can include couple portraits, clothing, colours, architecture or a scene that conveys a feeling. At this stage you are discovering preferences, not choosing a final route.
Then look for patterns. Perhaps you repeatedly save open landscapes, close expressions or clean architectural backgrounds. Remove images you saved only because they were popular. A board becomes more helpful when its direction is clear.
Do this together. If one partner wants quiet portraits and the other prefers playful movement, the answer need not be to choose one and exclude the other. You can plan distinct parts of the session, provided they fit the time and setting.
2. Explain what you like in each reference
A photographer cannot always tell why an image matters to you. You may be drawn to the warm colour while the person reading the board assumes you want the same pose. Add a short note that names the specific feature.
Useful notes sound like “we like the space around the couple” or “the interaction feels relaxed.” Less useful notes say only “same as this.” Distinguishing the idea from the exact image prevents avoidable misunderstandings.
You can also say what you do not want to copy. A reference may have beautiful light but clothing you would never wear. Write that down so the board does not quietly turn into a wardrobe instruction.
3. Organise the board into a few clear sections
You do not need complicated design software. Use a document, shared folder or board that both partners and the photographer can actually open. The structure below is a suggested starting point, not a studio requirement.
| Section | What to collect | A useful note |
|---|---|---|
| Mood | Images showing the overall feeling | Quiet and intimate, playful or more formal |
| Light | Examples of brightness and contrast | Soft daylight or a more dramatic setup |
| Colour | A small palette or outfit references | What should stand out and what should stay simple |
| Interaction | Movement or portrait examples | Walking and conversation rather than difficult poses |
| Composition | Wide views and closer portraits | More environment or more emphasis on expressions |
A small group of strong references can say more than a large collection with conflicting styles. There is no universal correct image count. Keep enough to explain the idea, then remove repetition.
4. Separate the mood board from the priority list
The board describes visual preferences. A priority list describes specific photographs that matter to you. Keep them separate so the team knows which ideas are flexible and which requests need time reserved.
A meaningful photograph with a particular object may be a priority. A certain camera angle from a saved portrait may simply be inspiration. Label the difference instead of expecting the photographer to guess.
Do not make every reference mandatory. That can leave little space for your own expressions, changing light or a better idea discovered at the setting. The point is shared direction, not a frame-by-frame copy of another couple’s gallery.
5. Connect the references to your real session
Ask the photographer which parts of the board fit the location and time. A night portrait with controlled lighting and a daylight landscape involve different arrangements. If you want both, discuss what that means for the route, equipment and session length.
Check clothing and movement together. A pose that looks effortless may be uncomfortable in your outfit. You can keep the same feeling while using an easier action. Our pre-wedding outfit guide helps connect styling with comfort.
Location references are not permission checks. A picture proves only that an image exists, not that you can access that setting or use the same equipment now. Use our location planning guide to confirm access, facilities and a workable backup.
6. Discuss editing without expecting a filter to change the scene
Tell the photographer which colour and contrast examples appeal to you, then compare them with the team’s actual portfolio. Editing is part of a photographer’s style, and a saved image from another creator may not represent the work you are booking.
Lighting and the setting also influence the result. A bright outdoor frame cannot be made identical to a dark indoor reference simply by asking for the same filter. Discuss the full image rather than naming a colour treatment alone.
Ask to see a complete gallery or a broader sample when deciding on style. One dramatic image does not tell you how the remaining photographs will look. Agree expectations before the session rather than requesting a different visual approach after delivery.
7. Keep personal comfort visible in the plan
Include practical preferences: whether you are comfortable with close poses, being photographed around visitors or doing repeated actions. These notes help the photographer guide you without pushing you into a scene you dislike.
If you are camera-shy, choose references that depend on interaction rather than elaborate posing. Walking, conversation and a familiar activity can support the mood. Our natural pre-wedding photo guide offers starting points.
Be clear about privacy too. A shared board may contain personal photographs or written details. Give access only to the people who need it, and do not make the board public merely to send it to the photographer. Confirm that the link works for the intended recipient.
8. Write a short final visual brief
Once the board is refined, summarise it in ordinary words. This prevents the collection from becoming a puzzle someone has to interpret while setting up the camera.
- The overall feeling you want.
- The light and colour direction you prefer.
- The kinds of interaction you find comfortable.
- A few priority photographs, clearly labelled.
- Confirmed outfits, setting and session window.
- Ideas that are optional or need a simpler version.
- Privacy and public-sharing preferences.
Send the final version before the shoot and ask the photographer to discuss it with you. Keep one current version rather than adding unlabelled screenshots through several message threads. If a major idea changes, say what changed and check whether the practical plan still fits.
9. Leave room for the day to be its own
The board is preparation, not a test you must pass. Weather, light and your own energy may change what feels right. A clear direction allows the photographer to adapt without losing the spirit of the plan.
If an elaborate concept is not practical, identify its underlying idea. A dramatic gown reference may really be about colour and movement. A travel-themed image may be about freedom rather than a specific vehicle. A simpler version can preserve that idea.
Keep photographs without accessories in the plan too. Our props guide explains how to use personal items without letting them take over the session.
Frequently asked questions
Is a mood board the same as a shot list?
No. It explains style and feeling. Keep specific priority photographs in a separate short list so the photographer can distinguish requests from inspiration.
Do all references need to come from one photographer?
No, but include examples from the photographer you are considering. This makes it easier to check whether your preferences fit their actual work.
Can we ask for identical photographs?
Discuss what you like about a reference rather than expecting an identical result. People, light, access and settings differ, and original photographs should reflect your session.
What if we like different styles?
Look for common ground, then discuss whether separate parts of the session can express each preference. A realistic plan is better than a board that quietly asks for incompatible setups at the same time.
Bring a direction, not a performance
Explore Shadowgraphy Studio’s pre-wedding photography portfolio and use a clear board to discuss your preferences. The strongest brief explains what matters while leaving room for photographs that feel like your own.
Further reading: Natasha Kasim Photography’s mood-board guide and Nic Hilton’s guide to explaining visual preferences. Suggested planning methods are not studio package terms or a promise to reproduce reference images.