
The best time for a pre-wedding shoot is the time that fits your chosen location, the light you want and a session you can actually enjoy. A warm sunset reference is useful, but it is not a complete plan. Travel, getting ready, entry rules and the direction of the light all affect whether you reach the right place before the useful window disappears.
For couples planning a pre-wedding shoot in Indore, the practical question is not simply “morning or evening?” It is: when should we be ready to photograph, which setup matters most, and what will we do if that light is unavailable? This guide helps you discuss those decisions with your photographer without relying on a fixed clock time for every season.
In this guide: Morning and evening · Work backwards · Midday options · Sample session plan · Final checklist · FAQs
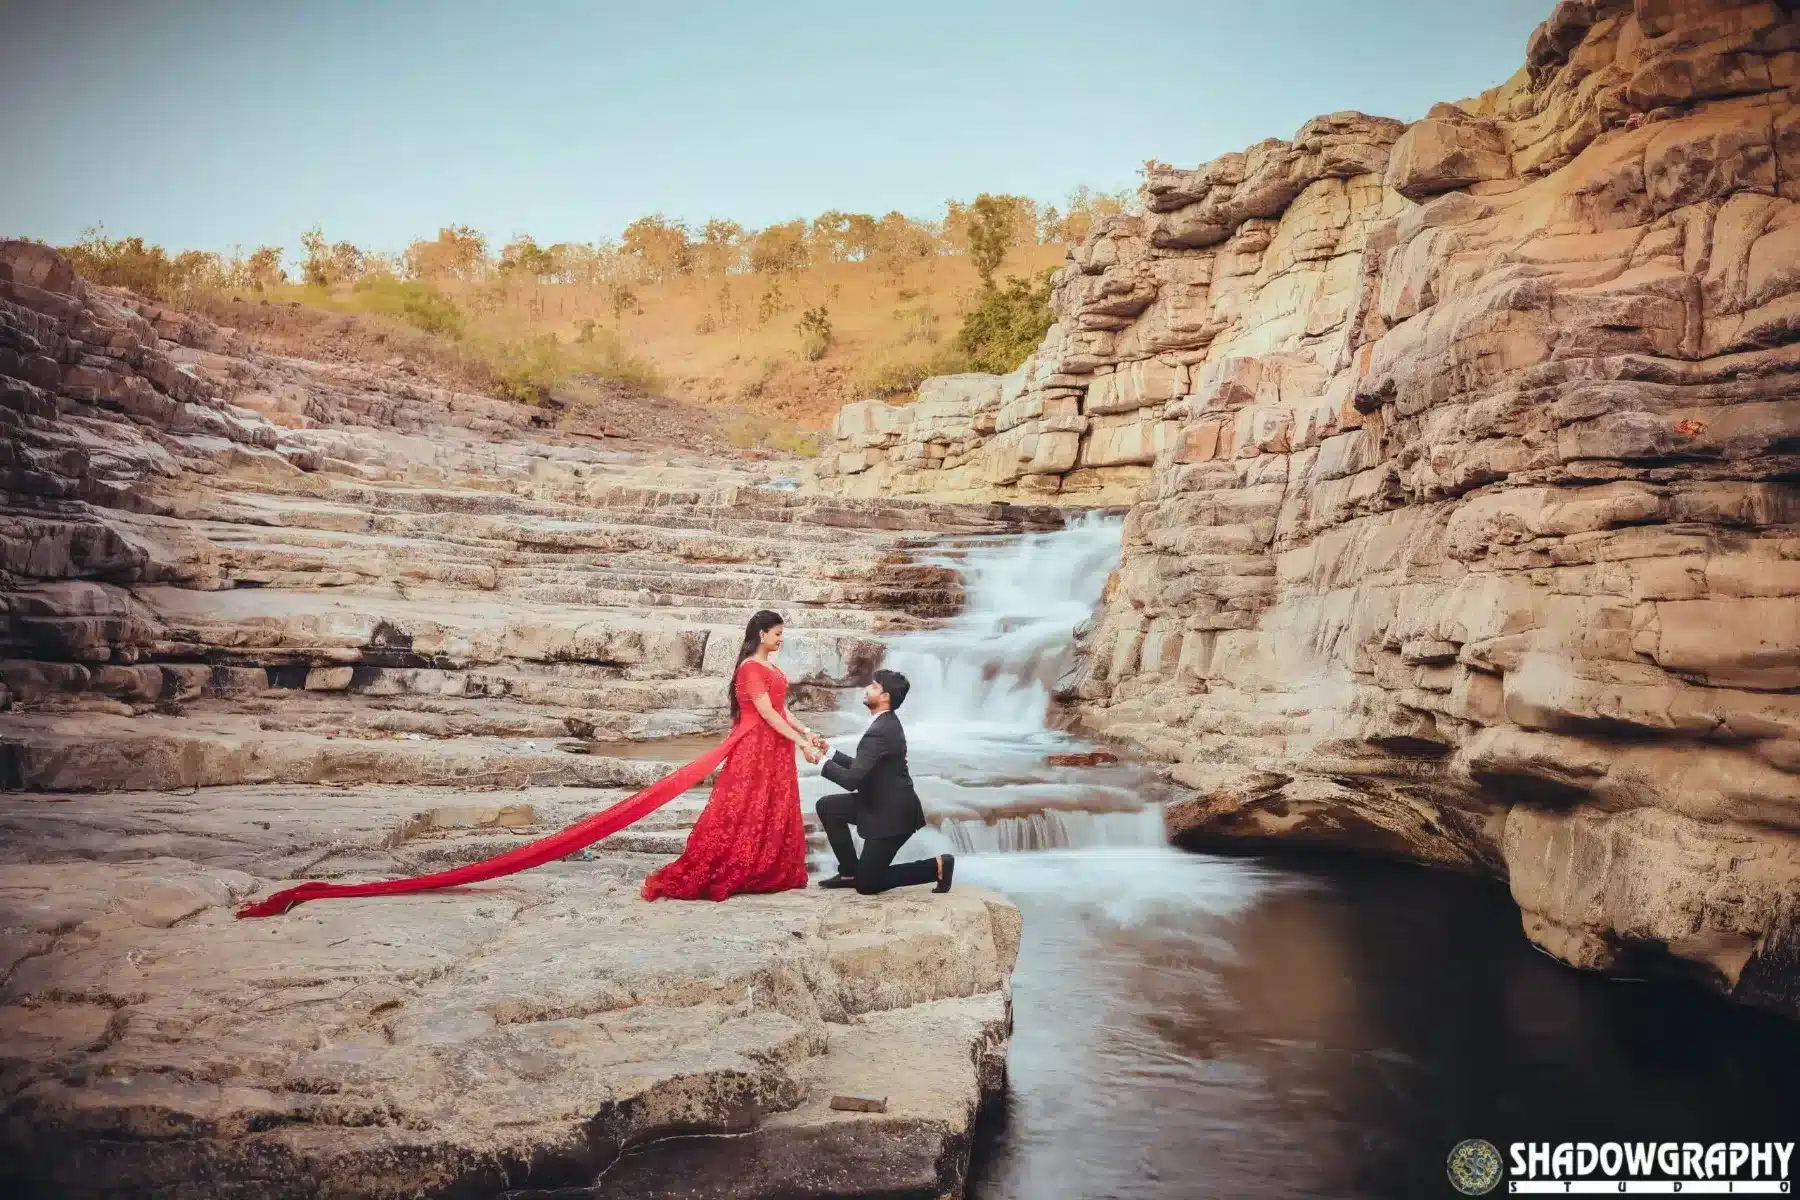
Morning or evening: choose the look before the clock
Low-angle sunlight around sunrise or before sunset can create warm colour, long shadows and a clear direction to the light. That is why photographers often discuss golden hour. It is a description of a lighting opportunity, not a guarantee that every place will look the same for exactly sixty minutes.
When a morning session can make sense
A morning session may suit a calm, fresh visual direction and couples who are comfortable preparing early. It can also make sense when the chosen property’s confirmed access works better earlier in the day. Do not assume that a public landmark is open at sunrise or that a private venue allows entry before its normal hours. Check those details before arranging makeup, transport or equipment.
The important morning question is how early preparation must start. A sunrise plan loses its advantage if one person is exhausted, the outfit is unfinished or the team is waiting outside a closed gate. Build the plan around the earliest confirmed photography access, not an attractive sunrise screenshot.
When an evening session can make sense
An evening session gives you the possibility of moving from brighter daylight into softer low sun and then a darker atmosphere. That variety can work well for a compact route. However, your main portraits should not depend on arriving at the last moment. Low sunlight can disappear behind trees, buildings or hills before the published sunset time.
Ask the photographer which direction you will shoot toward and when that particular background loses direct light. A broad open field, a walled courtyard and a tree-lined path can have different useful windows on the same date.
Work backwards from being photo-ready
Separate the meeting time from the first photograph. If everyone meets at the parking area at the moment the best light begins, you may still have walking, outfit checks and equipment preparation to finish. Your timeline should state when you need to be dressed and standing at the agreed shoot spot.
- Confirm the date and exact location. Sunrise and sunset change with the date and place. Check them for your actual session, then ask the photographer to account for the local horizon.
- Choose one priority setup. Decide which outfit, background and interaction matter most. Give that setup the strongest light window instead of leaving it until after every experiment.
- Allow a preparation buffer. Travel delays, parking, entry checks and the walk to the spot all take time. Estimate each one rather than hiding them inside the photography session.
- Keep outfit changes realistic. Confirm a permitted, private changing space. A complicated change can consume more of the light window than the portraits themselves.
There is no universal number of minutes that every couple should add. A nearby single-property session needs a different buffer from a day trip with two venues. Agree on the route and transition time with the team, then write the ready-to-shoot time clearly.
Midday is a different lighting plan, not a failed shoot
If the venue is only accessible during the middle of the day, discuss that before committing to a sunset-led concept. Strong overhead sun can produce sharp shadows and bright highlights. Those conditions may suit a bold, graphic style, or the photographer may choose shaded areas and a different angle.
Open shade can be useful, but “there are trees” is not enough detail. Patchy sunlight through leaves can create bright spots across faces and clothes. The photographer should inspect the specific area, background and direction of the light rather than assuming every shaded corner will work.
An indoor or covered setup is another option if the venue permits it and the lighting plan supports your brief. It may produce a different mood from an outdoor golden-hour reference. Make that change intentionally. It is better to have a clear indoor concept than spend the session trying to force a location to resemble a photograph made under different conditions.
Cloud, shade and blue hour need their own expectations
Cloud cover can soften the light, but it may remove the warm direct glow seen in your references. Keep the visual brief flexible enough to value a softer, more even result. Your photographer can decide whether to adjust the start time or prioritise a different background after checking the conditions.
After sunset, the sky and surroundings can offer a cooler, darker atmosphere. That does not make blue hour an automatic extension of a daylight session. The team may need a different exposure, lighting setup or location. Ask whether that look is part of the agreed plan and whether staying later is allowed.
Safety and access still come first. Do not chase the final light onto slippery rocks, near unsafe water edges or into a restricted area. The portrait matters less than getting both of you and the crew home safely.
A sample sequence without misleading clock times
Use this sequence as a discussion template, not a promised package or fixed session duration. The photographer should adapt it to your location, outfits and confirmed access.
| Stage | What to finish |
|---|---|
| Before photography | Travel, entry, changing, a short location check and final outfit adjustments. |
| Opening setup | Simple movement and comfortable portraits while the team checks angles. |
| Priority light window | Your most important outfit and background, with minimal travel or changing. |
| Optional final setup | A second mood only if time, access, comfort and the agreed lighting plan allow it. |
Keep one transition simple. If your favourite sunset background is at the second location, avoid scheduling a long outfit change and an uncertain drive immediately before it. A smaller route often gives the photographer more time to refine photographs instead of repeatedly packing and moving.
Use references to explain light, not just poses
When you share a photograph, say what you notice: a warm outline around the hair, softly lit faces, deep shadows, a cool sky or a bright clean background. Those details help the photographer understand the look even if your session uses a different place.
Our pre-wedding mood-board guide helps turn those references into a short brief. Pair it with the location-planning checklist so the light you want fits the access and route you have confirmed.
Confirm these details before shoot day
- The exact meeting point and the separate ready-to-shoot time.
- The priority setup and the light window it needs.
- Venue access, professional photography permission and any closing time.
- Preparation, walking and changing time, with a workable buffer.
- Who will tell both partners if the timing or location needs to change.
- The alternative lighting approach if direct sun is unavailable.
- Whether any after-dark setup, extra equipment or additional session time is included.
Keep the confirmed plan in one short note that both partners can read. Avoid circulating several versions of the timetable. If one detail changes, update the same plan and tell the team which version is current.
Frequently asked questions
Is golden hour always the best time for a pre-wedding shoot?
It is a useful option for warm low-angle light, but the best choice depends on your brief, venue access and the actual surroundings. A shaded or indoor session can be a better fit than an unworkable sunset plan.
Can we use the same evening time for every month?
No. Check the date-specific sunset and then account for the location’s buildings, trees and terrain. Do not copy another couple’s clock time as your own.
Should makeup finish when the photography starts?
Plan to be photo-ready before the priority window. Preparation, travel and entry should already be complete. Ask your team to agree on a realistic ready time rather than an arrival time that leaves those tasks unfinished.
What if we are late?
Tell the photographer promptly. Prioritise the main setup and simplify the route or changes if needed. Moving the same plan later may not preserve the light, so let the team reassess instead of rushing through unsafe or impractical shortcuts.
A good light plan should make the session easier
Choose a manageable route, protect the most important setup and leave enough time to settle into the photographs. Explore the Shadowgraphy Studio pre-wedding portfolio and discuss the atmosphere you want before fixing a session window.
Further reading: FOCL’s location-specific sunset-planning guidance and Paperlust’s pre-wedding preparation guide. These explain general planning principles, not local venue hours, fees or guaranteed light.