
The book your photographs will live in
Long after the wedding week ends, the album is usually the piece that stays within reach. The online gallery gets shared in the first month; the album comes out at anniversaries, family visits and quiet evenings years later. A few decisions made before the design starts tend to save several rounds of corrections afterwards, and they are simpler than they look.
Start with the story, not the layout
Most wedding albums follow the shape of the day: getting ready, the ceremonies, couple portraits, family groups and the reception. A chronological flow works because everyone remembers the day in that order. Some albums are arranged thematically instead, with all the portraits or all the details grouped together; that can look striking, but it usually reads less like the day itself. When in doubt, a chronological book with a strong opening spread rarely disappoints.
Give strong photographs room
The most common album regret is crowding. A spread generally works best when one photograph clearly leads it, with one or two supporting frames at most. Four small pictures side by side tend to flatten each other.
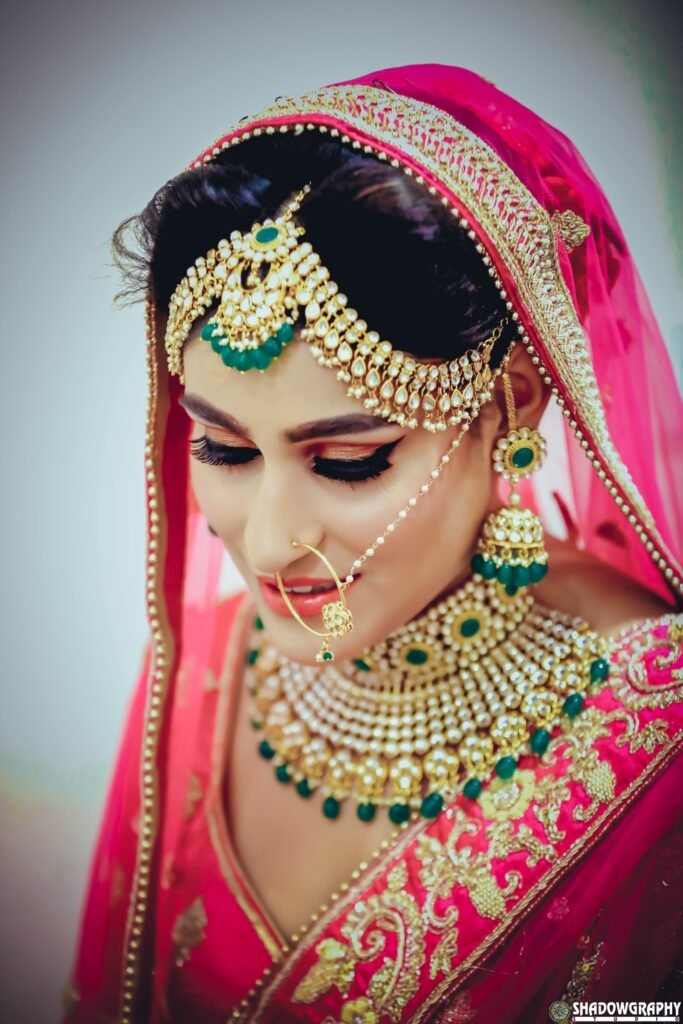
While shortlisting, it helps to mark the ten or so images you consider non-negotiable, so the key spreads can be built around them. Choosing those photographs is its own step, and our guide to selecting photos for your wedding album walks through that process.
Let detail frames open the chapters
Mehndi, jewellery, rings, the embroidery on a lehenga: close-up frames like these often work as section openers between chapters of the day. They break up long sequences of people and give the book its rhythm.
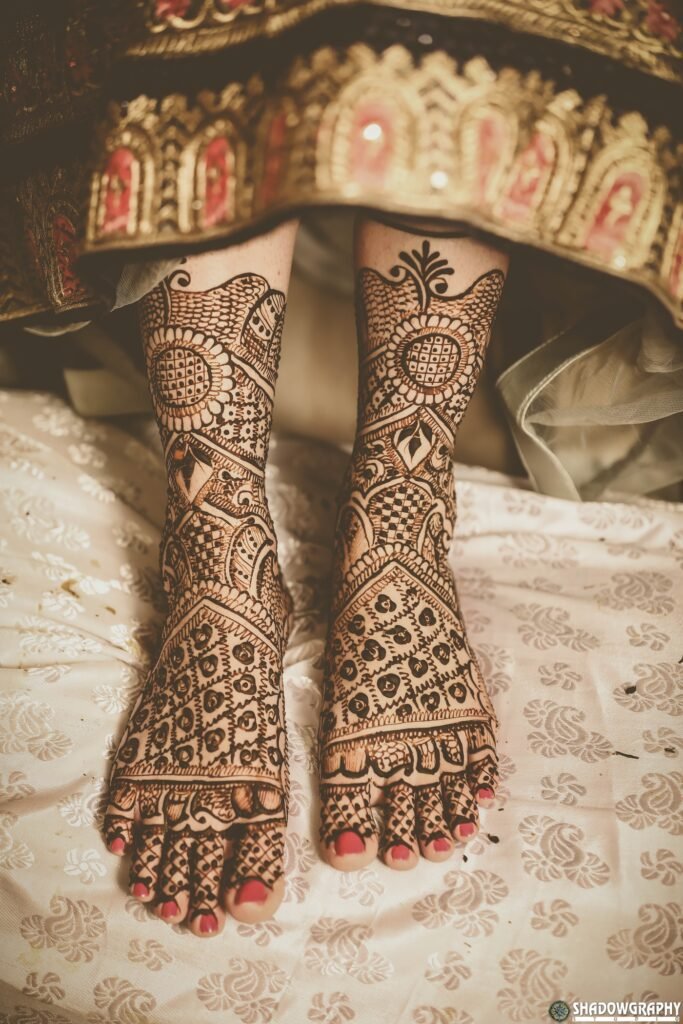
An album whose coverage includes these details usually ends up with two or three such pauses, and they are frequently the pages guests linger on.
Cover, paper and binding: the physical decisions
- Cover: a photo-printed cover shows off a favourite image, while fabric, linen or leather covers tend to age more quietly and hide fingerprints. Many couples add their names and wedding date in foil or debossing.
- Binding: lay-flat binding lets a photograph run across both pages without sinking into the centre fold, which matters if you like wide spreads.
- Paper: matte reads softer and shows fewer fingerprints; gloss is punchier but reflective under tube light. Thicker pages feel more substantial and usually cost more.
- Size and length: a 10×10 or 12×12 inch book with around 30 to 40 sides suits most two or three day weddings. More sides with fewer photos per page generally looks better than the reverse.
What to confirm before you approve the design
Album design usually begins after the edited photographs are delivered; our guide to wedding photo delivery timelines explains what that stage looks like. Before you sign off on a design, it is worth confirming a few things with whoever designs the book:
- How many proof rounds are included, and whether proofs come as PDF spreads or an online proofing link.
- How many photos per spread the draft uses, and whether you can see three sample spreads before the full design is done.
- Whether the final book is colour-checked against a printed proof, and which paper it will use.
- The expected timeline from approval to delivery, and how corrections are handled after printing.
Getting these answers in writing before the design starts avoids the slowest kind of revision: the one that happens after the book is printed.
Planning your wedding photography in Indore?
Tell us your date, venue and what you have in mind for your album so we can discuss your requirements. You can also browse our work as wedding photographers in Indore.